
Chunky ribbon necklace tutorial
Posted by Shannon on Jun 9th 2017
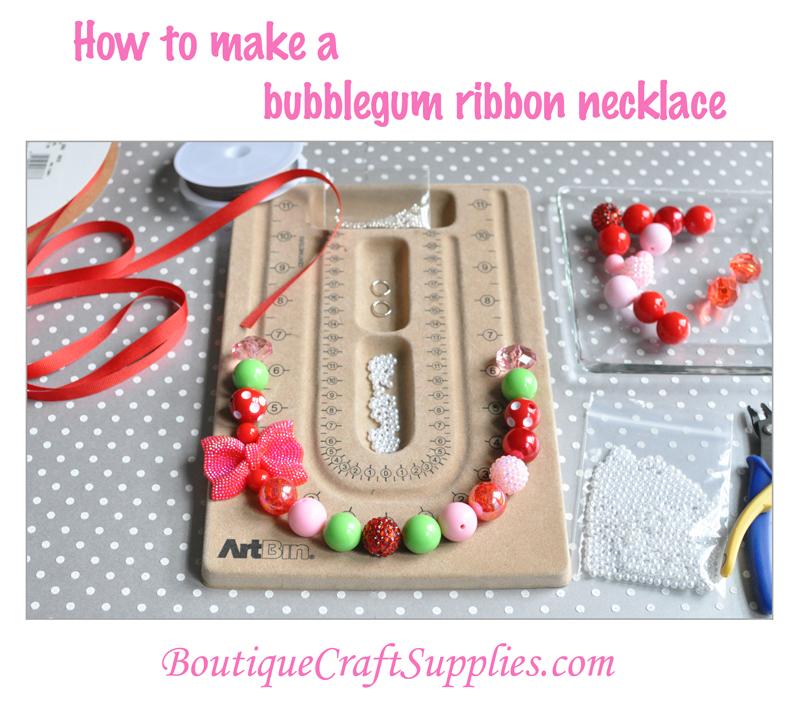 Welcome to the Boutique Craft Supplies blog! In this tutorial I show you step-by-step how to make a chunky bubblegum bead necklace with ribbon ends. This ribbon necklace isn't just limited to kids' designs though! You can use the same technique to make yourself a ribbon necklace. Maybe you want to make a chunky necklace with more adult muted-tone beads or use smaller 8, 10, or 12mm beads. You can even make a multi-strand necklace. Let's get started :)
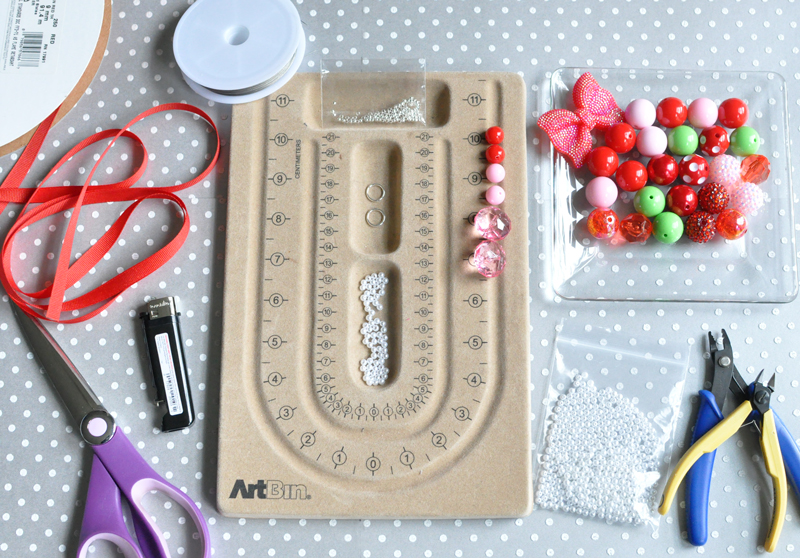
Supplies needed to make this necklace:
20mm bubblegum beads. I've used my Strawberry Patch necklace kit, plus a couple 12mm red solids, and 22mm clear pink faceted rondelles.
Spacer beads: I've used my 4mm white acrylic pearl spacers.
Findings: I used the silver wire and crimp beads from my chunky necklace findings kit, plus my 12mm closed jump rings.
Ribbon: 1 yard or more of 3/8" offray red grosgrain.
Tools: Crimp pliers, wire cutters, scissors, a lighter, and a bead board.
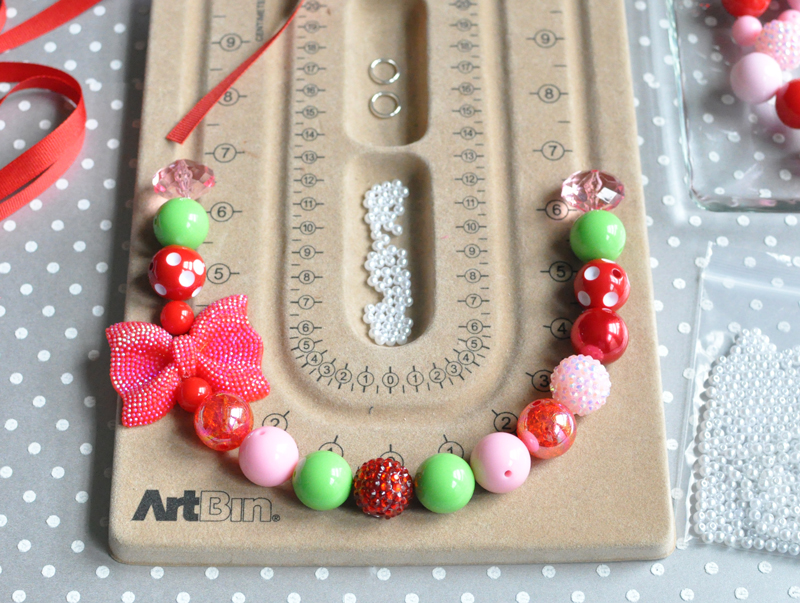
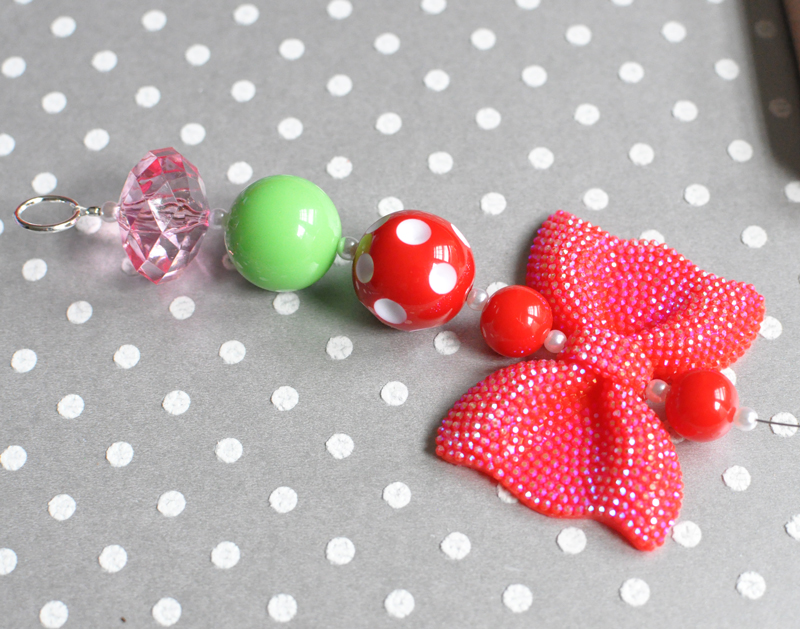
Start by laying out your bead design on your bead board. I've used a red rhinestone as my center focal and the rhinestone bow bead off to the side. I fill in next to the bow with two 12mm red beads so there will be no gaps where the wire shows. I keep the necklace symmetrical by adding two additional beads on the right side of the necklace (a pink rhinestone and red pearl), these take up the same amount of space as the bow on the left side.
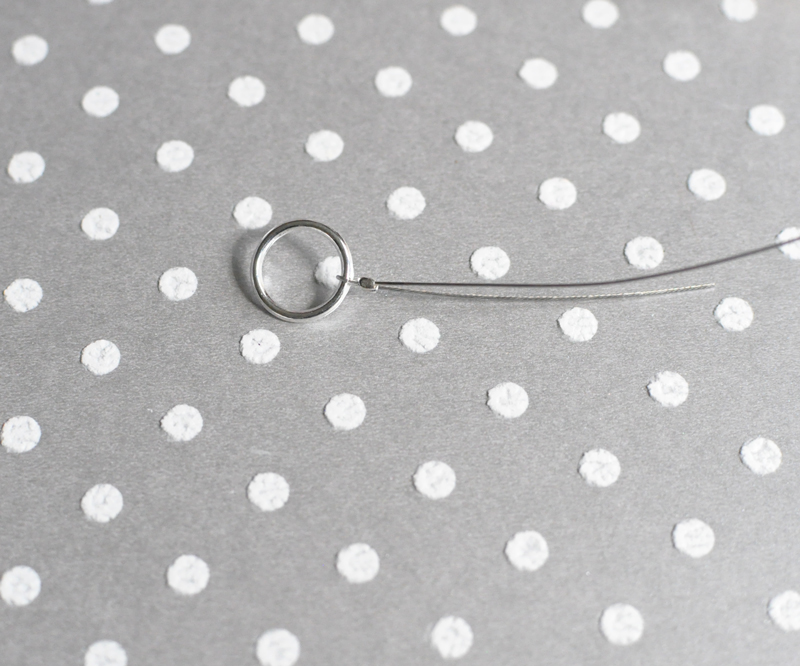
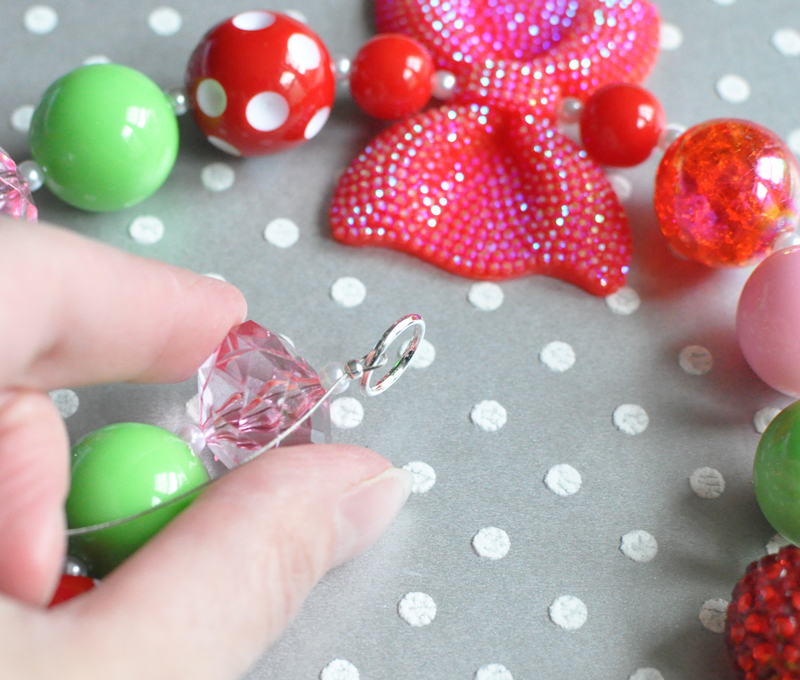
Start building your necklace by crimping your wire around the 12mm closed jump ring. I always crimp to a soldered closed jump ring. If you use a open jump ring, even a tightly closed one, there is always a chance your wire could work it's way through the opening. See my first Chunky necklace tutorial for instructions on how to use the crimp bead. Don't tighten your wire or crimp too close to the jump ring, you want a little space so it can move around.
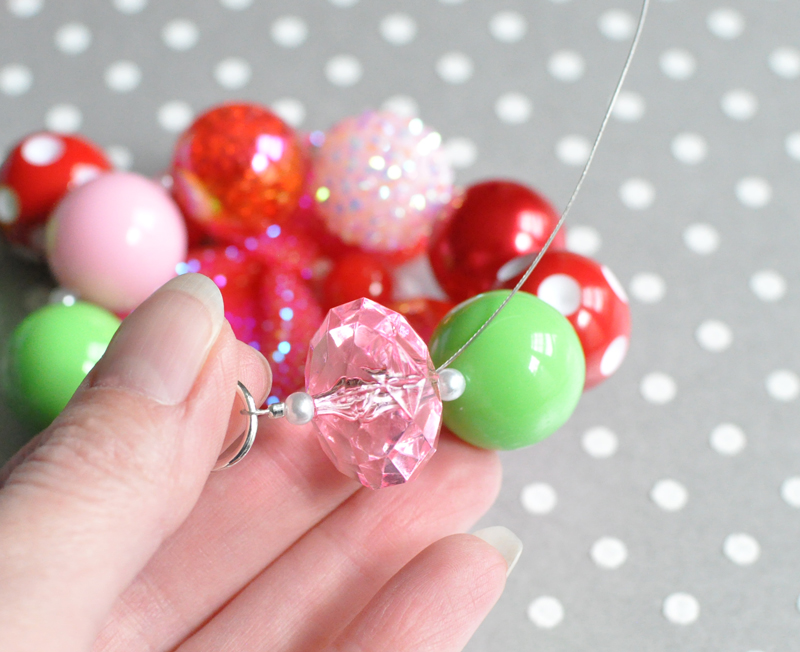
Run your wire end piece through the first spacer and first 20mm bead, then cut it flush with the bead. Continue adding your beads. You can see here I use 4mm spacers between every bead, even the 12mm small beads. This keeps the necklace flexible so it can drape nicely.

Now I have all my beads added. Don't forget that last spacer bead.
Add your crimp bead and 12mm closed jump ring, just like we did at the start of the necklace.
Again, run your wire end back through the first two beads and cut it flush.
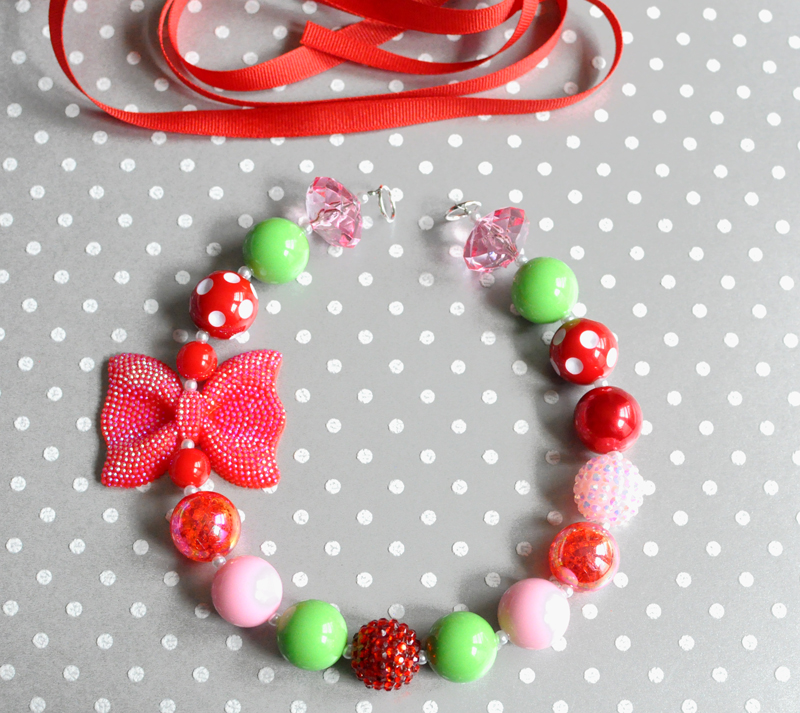
Now the beaded portion of our necklace is complete!
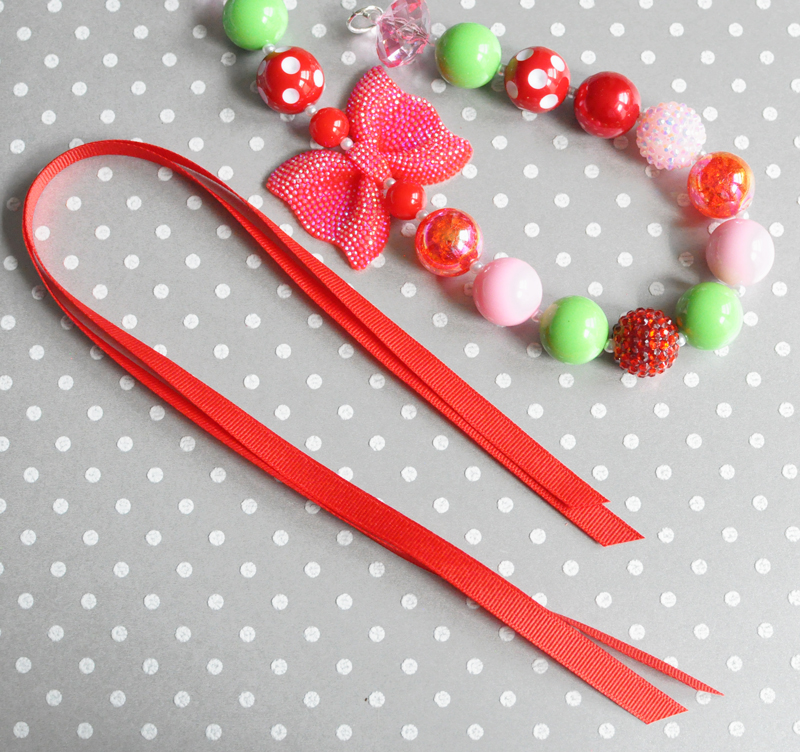
Cut two 18" lengths of 3/8" grosgrain ribbon. If you want to tie your necklace on in a big bow, you may want longer pieces of ribbon. Cut the ends of the ribbon at an angle and seal with a lighter. To seal, just run the lighter close across the edge of the ribbon until it just barely melts.
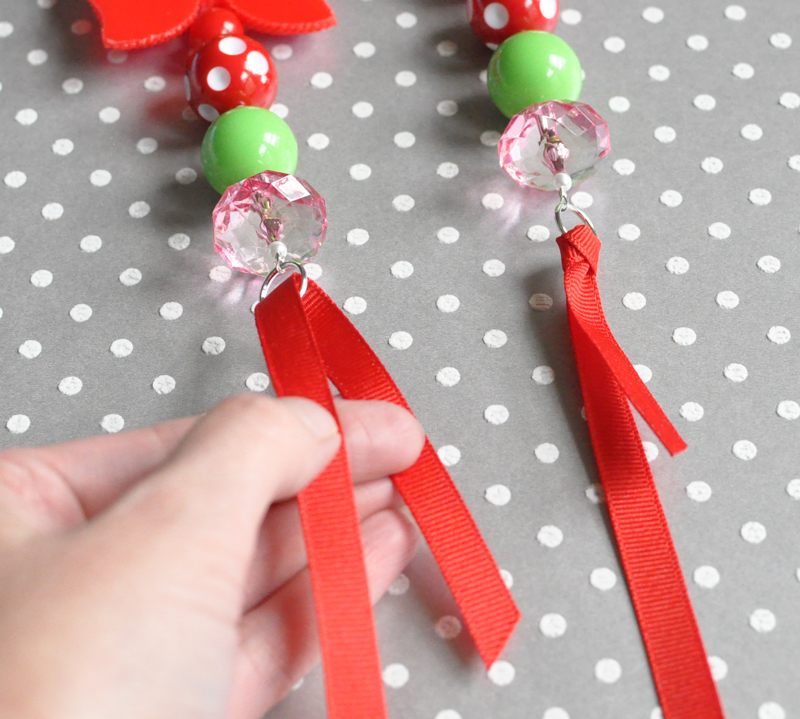
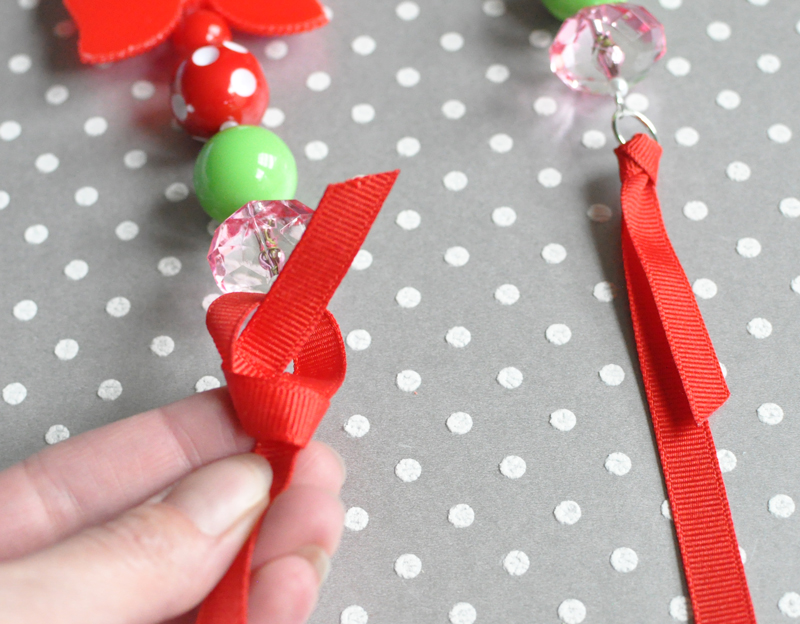
Here I have one ribbon already tied on (the view is the back of the knot) and I'm starting on the second piece of ribbon. Loop your ribbon, front to back. through the 12mm ring.
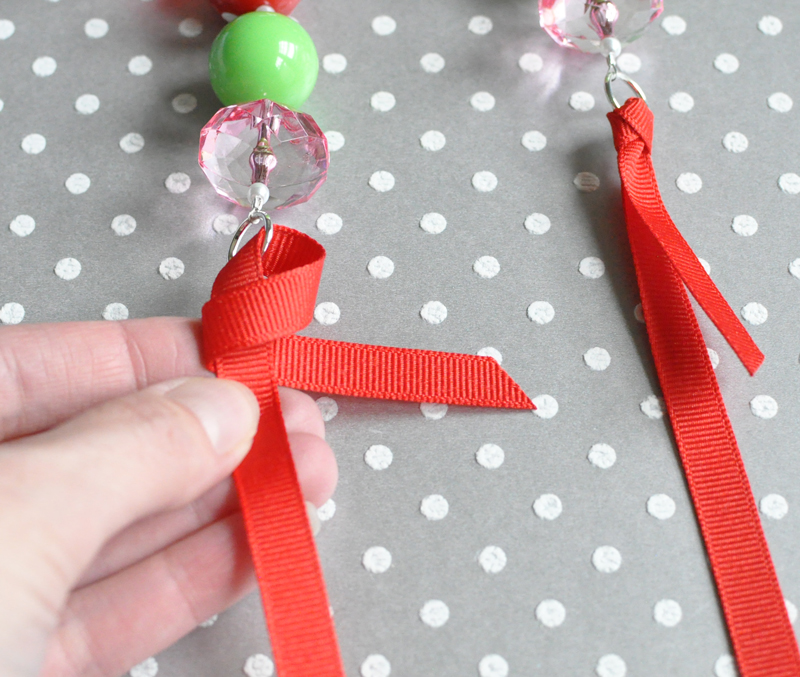
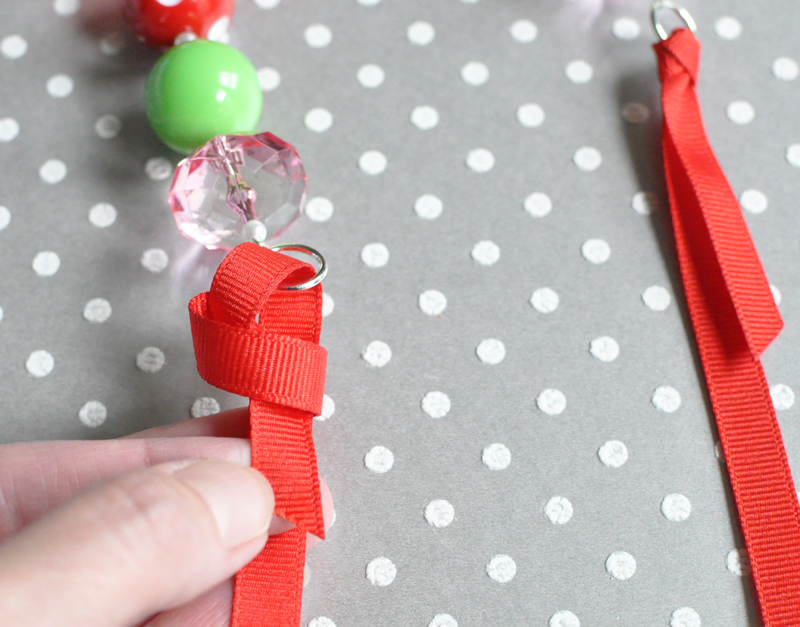
Wrap the short end around the front and to the back of the longer end of your ribbon.
Bring that short end back to the front and tuck it straight down into the loop.
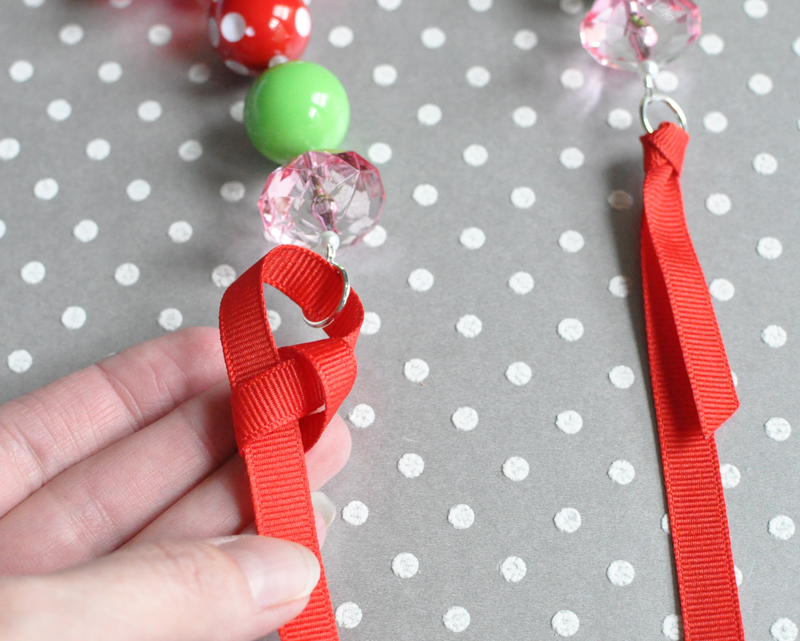
Turn your knot around to the back. The ribbon you just tucked into the loop will be pointed up towards you. Grab that end and tuck it into the piece of ribbon that runs straight across (right above my thumb in the pic).
Pull the end of your ribbon straight down to tighten. This knot is similar to tying a tie, you just don't wrap it around as many times.
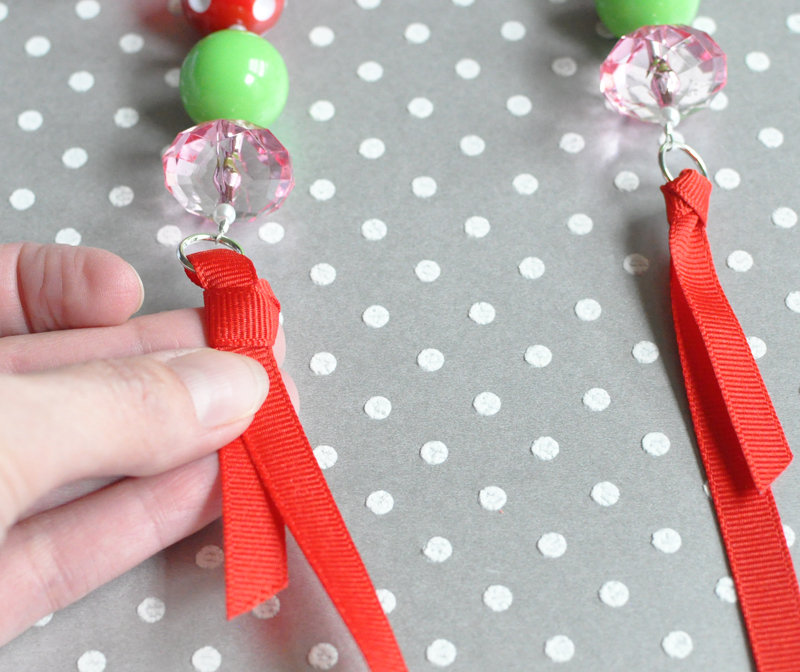
Turn your knot back around to the front. Pull the LONG piece of ribbon now to tighten up your knot and tuck it up close to the jump ring.
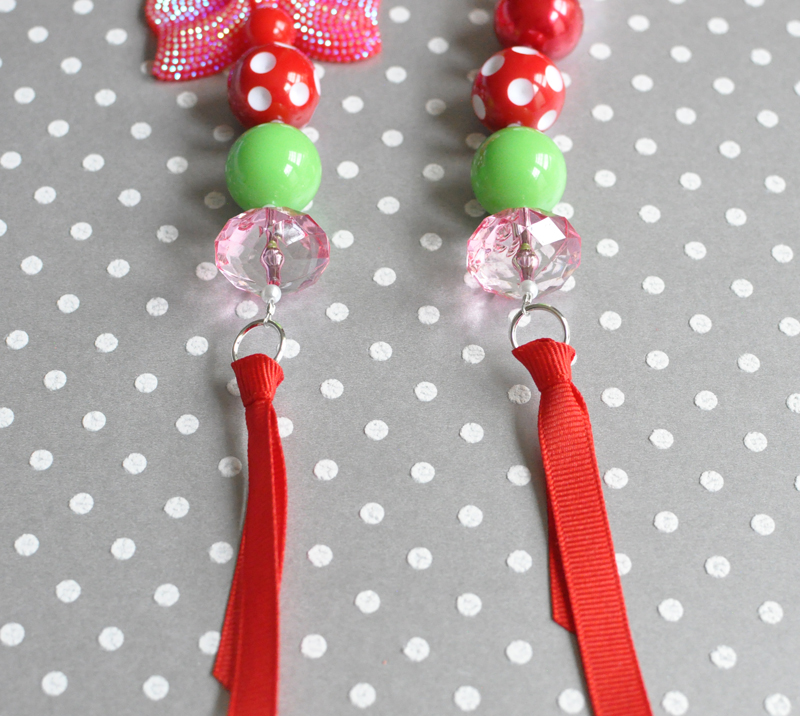
Here are our two ribbons tied to the necklace. Notice that the short ends of the ribbon stay nicely lined up straight instead of poking out sideways.
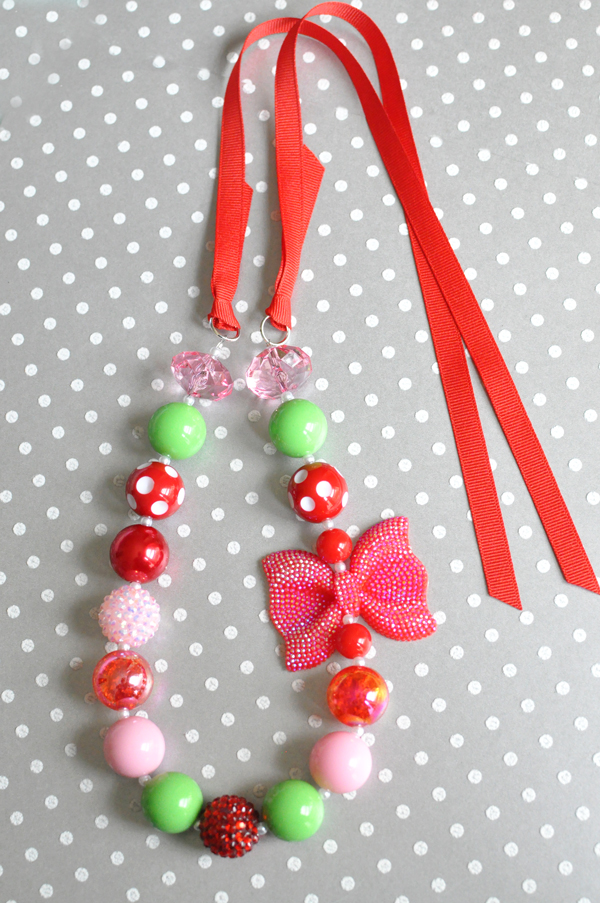
Our ribbon necklace complete!